Are you concerned about your online privacy while using a proxy for Chromebook? Do you often wonder if there’s a way to browse more securely, especially in shared environments like schools or workplaces? You’re not alone in your quest for a more shielded online experience.
Dive into our comprehensive guide as we explore the intricacies of setting up a Chromebook proxy, ensuring you not only understand its importance but also master its implementation. Your path to enhanced digital security starts here!
Chromebook – What Is It?
A Chromebook is not your typical laptop. Instead of running on Windows or macOS, it operates on Chrome OS, an operating system built around Google’s Chrome browser. This unique setup allows you to execute a myriad of tasks like browsing the web, reading digital books, and enjoying music.

The essence of a Chromebook lies in its seamless integration with Google’s suite of applications. Whether it’s drafting documents on Google Docs, crunching numbers in Google Sheets, or storing files in Google Drive, all can be done effortlessly in the Chrome browser. Plus, you have the added advantage of accessing apps from the Google Play Store.
One of the standout features of a Chromebook is its lightweight design, both in terms of physical weight and technical specifications. Unlike conventional laptops that rely on robust hardware, Chromebooks leverage the power of cloud computing. This means that even with modest specs, a Chromebook can deliver swift and efficient performance since most tasks are processed online
Security in Chromebook
When it comes to security on a Chromebook, there’s a lot to admire. Unlike traditional computing environments, Chromebooks don’t rely on third-party security software to fend off malicious threats. Given that its ecosystem revolves around Google’s suite of apps, many security measures are baked right in.
Take Google Drive as an example. It’s the primary storage solution on a Chromebook. When you save files to Drive, Google proactively scans them for any suspicious elements, adding an extra layer of protection to your data.

Having peace of mind about device security is wonderful, but what about the data you send and receive over the internet? That’s a different challenge altogether. To ensure that your online traffic remains confidential and safe from potential prying eyes, additional steps might be necessary. Here’s where the concept of a free proxy for Chromebook server comes into play.
Proxy On A Chromebook
Chromebooks, often preferred by students and professionals, provide streamlined access to the web. In educational and corporate settings, administrators sometimes implement proxy servers to enhance security and manage internet traffic. However, if you’ve purchased a proxy Chromebook for personal use, you might consider setting up a proxy to maintain privacy.
In essence, a proxy server acts as a bridge between your device and the broader internet. By routing your web traffic through a proxy, your original IP address is obscured, offering online anonymity.
Three main proxy types are:
- Datacenter proxies
- Residential proxies
- Mobile proxies (specifically for mobile devices)
Each comes with its distinct advantages. For instance, residential proxies excel in tasks like web scraping, automation, or bypassing geo-restrictions.
How to configure the proxy server in Chromebook
You’re not limited to a specific type. The key is selecting a proxy that supports HTTP, HTTPS, or SOCKS protocols, which Chromebooks can utilize.
Configuring your proxy server for Chromebook can be done automatically or manually:
Setting Up an Automatic Proxy Configuration on Chromebook:
- STEP 1: On your home screen, click the bottom right panel and select “Settings.” Alternatively, open the Chrome browser and navigate to Menu → Settings.
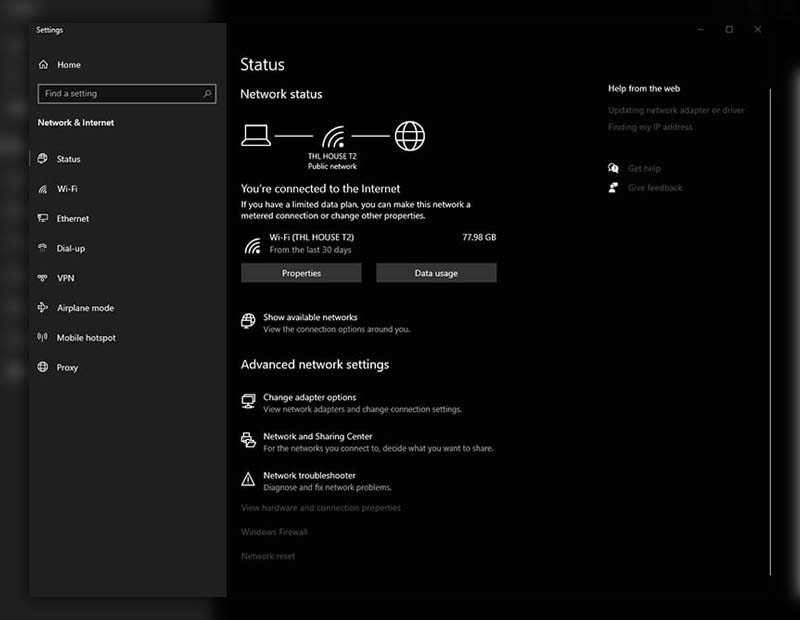
- STEP 2: In the settings screen, check your Wifi connection status. For sharing a proxy-configured network, toggle on “Allow proxy for shared networks.” (Default is off for security).
- STEP 3: Click on your primary Wifi connection to access its settings. Remember, each Wifi connection might need its proxy configuration.
- STEP 4: In the pop-up, click on the “Proxy Settings” tab. Here you’ll find:
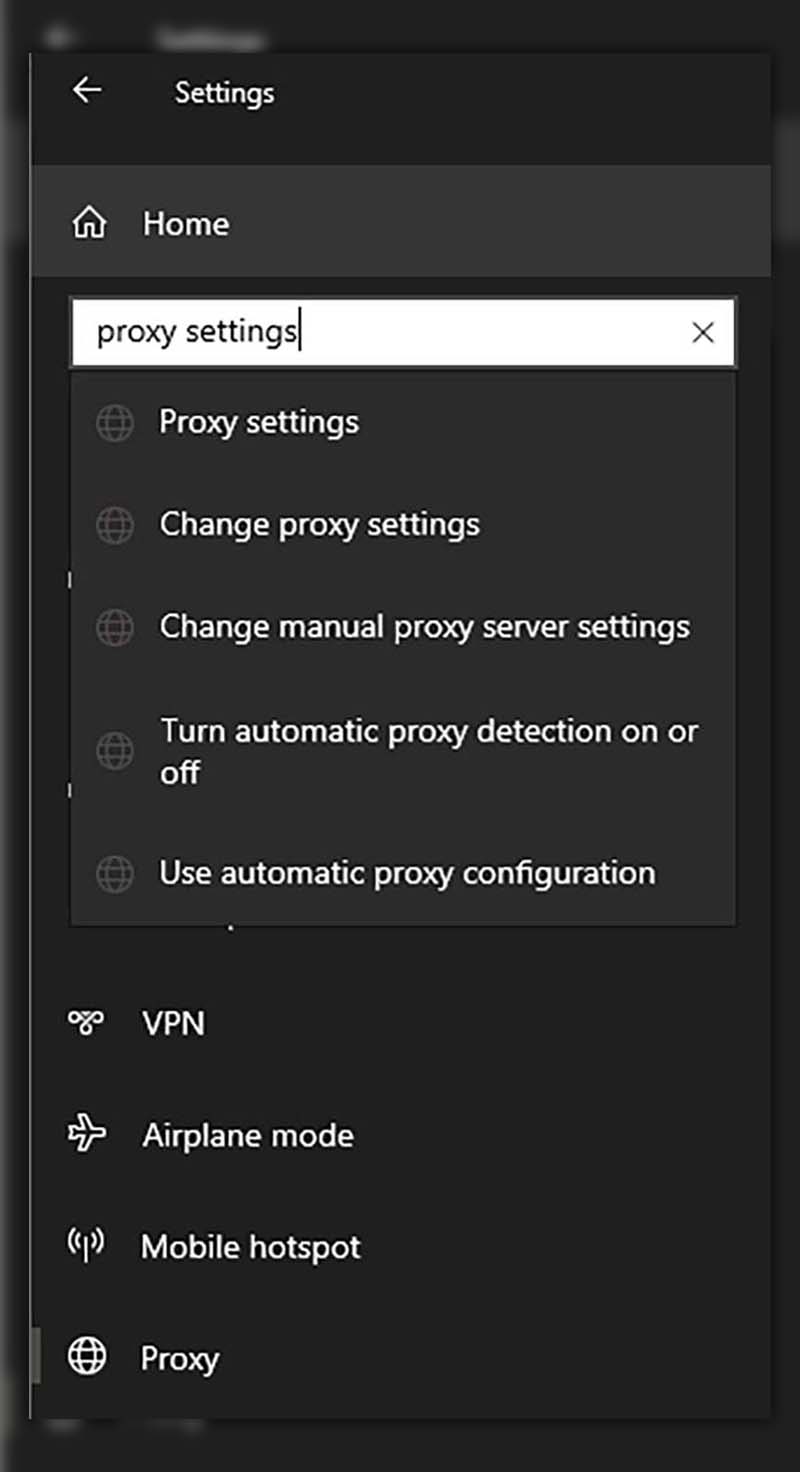
Direct internet connection
Automatic proxy configuration
Manual proxy configuration
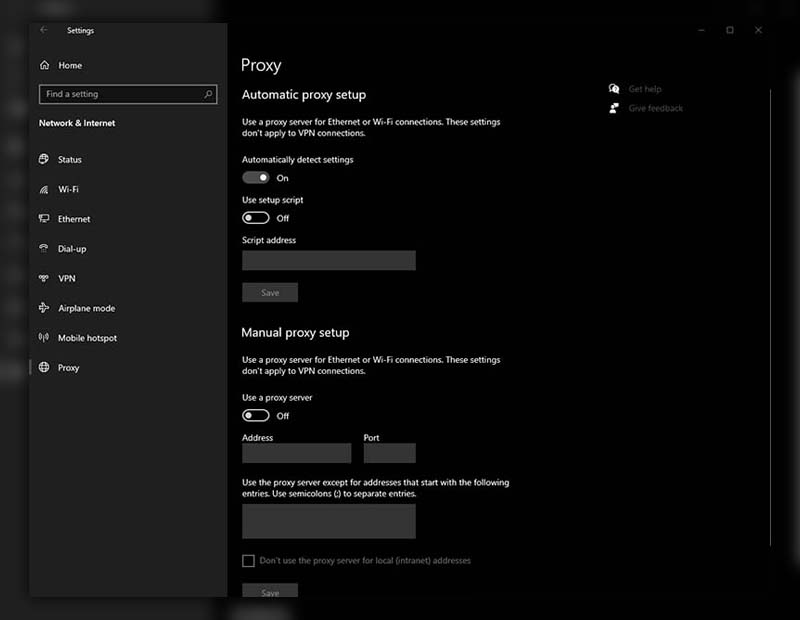
- STEP 5: “Direct internet connection” means no proxy. For auto-configured proxies, pick “Automatic proxy configuration.” Institutions often prefer this, utilizing the WPAD (Web-Proxy Auto-Discovery) protocol. Click on “Automatic proxy” → “Use an auto configuration URL Chromebook” and provide the required .PAC file address.
How to configure the proxy server manually in Chromebook
- STEPS 1-4: Same as the automatic setup.
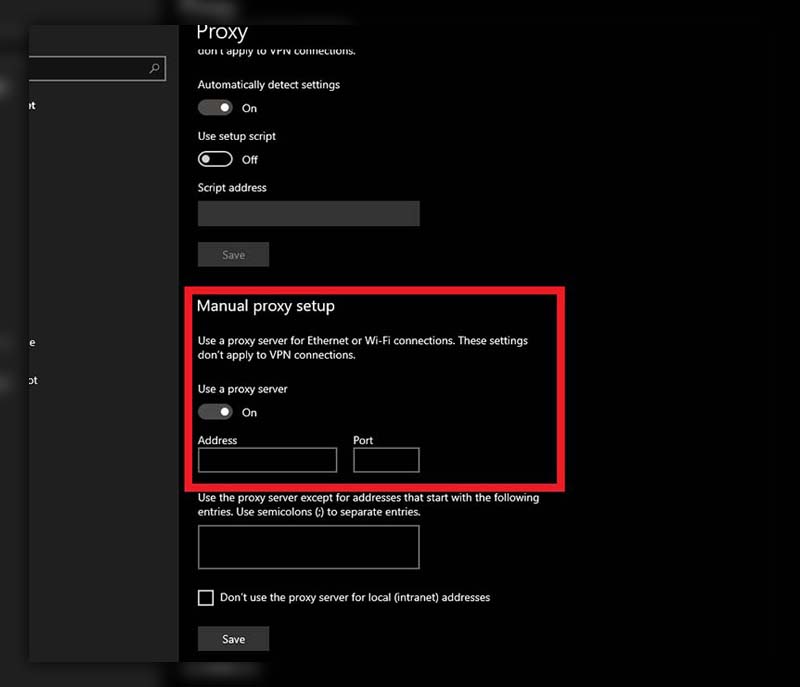
- STEP 5: Opt for “Manual proxy configuration” to define your proxy settings.
- STEP 6: To apply the same proxy across all protocols, check “use the same proxy for all protocols.”
- STEP 7: Input the proxy details (HTTP, HTTPS, SOCKS) and respective port number. Once set, click “close.” Optional configurations allow site blocking or granting access permissions.
Conclusion
In summary, setting up a free proxy for Chromebook is an essential step in fortifying your online privacy and ensuring a more secure browsing experience. As our digital landscape evolves, it’s paramount to stay updated and safeguarded against potential threats.
If you’ve found this guide helpful, don’t hesitate to explore more enlightening content from Twistory. Our commitment is to provide you with the tools and knowledge needed to navigate the digital realm confidently. Happy browsing, and stay secure!


