
Ever found yourself stuck at school, desperately trying to access a website, only to be blocked by a pesky firewall? Are you wondering if there’s a way to bypass school-blocked sites without compromising security? If so, you’re in the right place.
Our guide on “how to bypass school firewall” offers safe and effective methods to help you regain your digital freedom during study hours. Dive in and discover the techniques that work best, so you never feel restricted again.
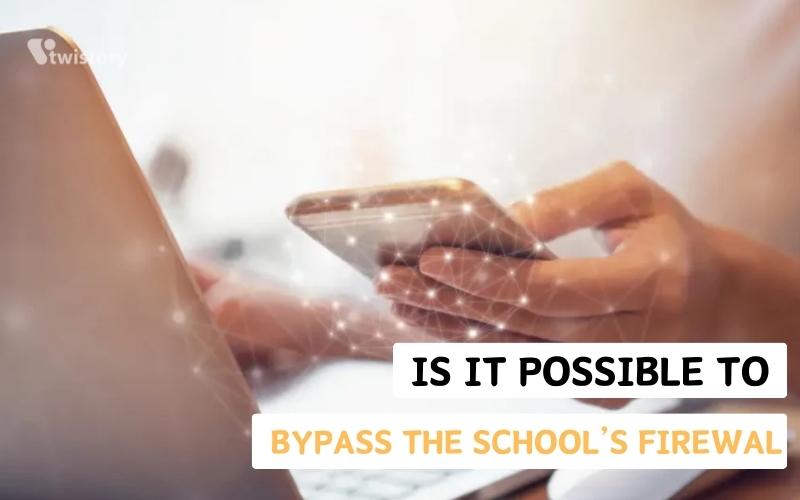
Is It Possible To Bypass the School’s Firewall?
The effectiveness of a school’s firewall can vary widely based on the specific system they’ve implemented. Generally speaking, however, one can often bypass these firewalls by using a Virtual Private Network (VPN) or a proxy server.
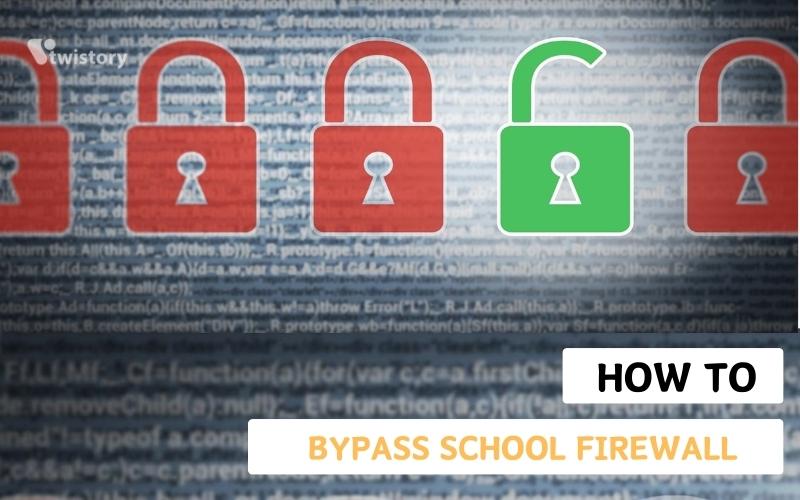
How to Bypass School Firewall?
Schools and offices implement firewalls to safeguard sensitive information from threats such as malware or hackers. The intention isn’t to infringe on your privacy, but rather to defend it from potential cyber risks.
If there’s a legitimate need for you to access restricted websites, the best course of action is to consult with the institution’s administration. Adjusting firewall configurations for individual requests might be unfeasible, but they could provide a school bypass legal workaround.
Firstly, consider checking your local computer’s firewall settings. For instance, on a Windows machine, you can disable the Windows Defender Firewall via the Control Panel. Similarly, the Task Manager (Ctrl + Shift + Esc) allows you to halt any third-party firewall processes.
If those steps don’t yield results, here are nine methods to navigate a firewall at your school or workplace:
Use VPN
A Virtual Private Network (VPN) offers a secure tunnel, masking your online identity (your IP address) and encrypting your traffic, thus shielding you from various online threats.
By activating a VPN, your virtual location becomes obscured. As a result, local networks, including your school’s firewall, can’t scrutinize your online activities, granting you unrestricted web access.
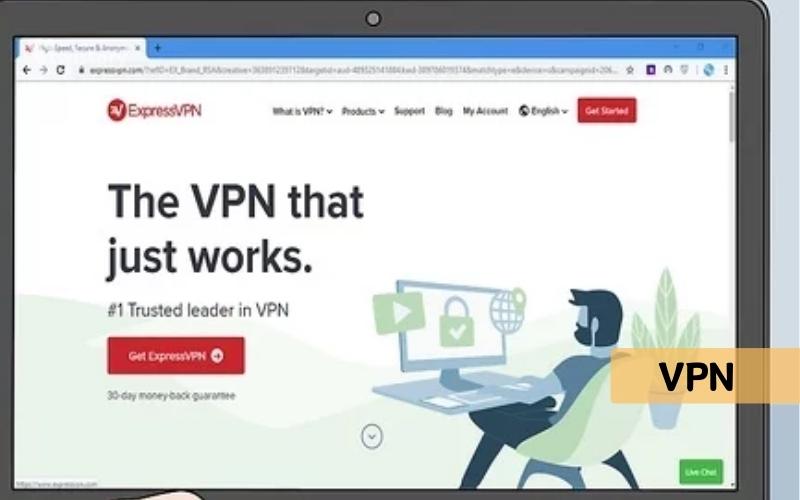
There are many third-party VPN solutions available, such as ExpressVPN, CyberGhost, and NordVPN. While some services come at a cost, others are free. Installation is typically straightforward: download the software, choose a server location, and you’re good to go.
Some web browsers, like Opera, have an integrated VPN service. For browsers without this feature, like Google Chrome or Firefox, VPN extensions or plugins can be added. For mobile devices, dependable VPN applications can be downloaded from app stores.
You can also leverage the VPN features natively provided in various devices:
On Windows
Windows has a built-in VPN feature, popular for P2P file sharing and streaming. Here’s how to set it up on Windows 11:
- Press Windows + I to access Settings, then go to Network & Internet > VPN.
- Click on “Add VPN” under VPN Connections.
- In the dialogue box, set the VPN Provider to “Windows (built-in)”.
- Enter a connection name and the destination VPN server’s IP address.
- Choose your desired VPN type or leave it as “Automatic”.
- Optional: Enter a username and password. Click “Save”.
- Locate the connection you created and click “Connect”.
- Provide your Microsoft Account credentials.
- Wait for the VPN connection to be established.
On Android
Android’s built-in VPN supports PPTP, L2TP, and IPSec protocols. Here’s a step-by-step guide:
- Open Settings and navigate to Connections.
- Choose “More connection settings”.
- Tap on “VPN”.
- Access the menu and select “Add VPN Profile”.
- Input a name, select the VPN type, and enter the server’s IP address.
- Save and then select the profile you’ve made.
- Enter your credentials and connect to the desired server.
On iOS
Setting up a VPN on iOS devices is straightforward. Here’s a guide:
- Open Settings and go to the General tab.
- Scroll to “VPN & Device Management” and tap “VPN”.
- Tap “Add VPN Configuration”.
- Select your VPN type and provide necessary details.
- Under Authentication, input your credentials.
- Define your Proxy settings with Auto or Manual and save.
- Toggle on the VPN to establish a connection.
Use Proxy Server
When faced with VPN restrictions, proxy servers present a viable alternative for bypassing firewall limitations. A proxy server operates as a go-between for your school’s computer and the intended web server.
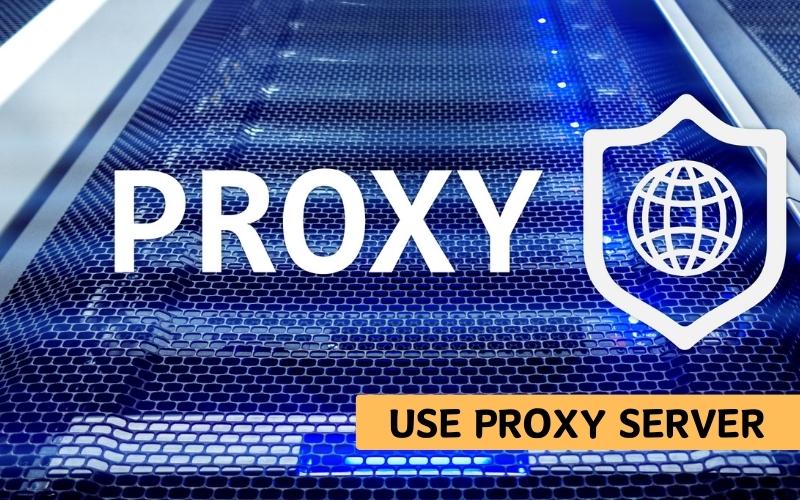
Imagine a firewall as a vigilant guard that prevents you from visiting certain places (websites). By using a proxy server, you’re essentially asking a friend (the proxy) to visit the place for you and relay back the information. So, the guard only sees your interaction with your friend and remains oblivious to the actual destination.
To illustrate, imagine wanting to access Netflix but it’s blocked at your school. The proxy server first receives your request for Netflix, retrieves the content for you, and then presents it to you. The firewall, however, perceives your actions as merely interacting with the proxy.
Though there are numerous free proxy servers available online, they may not always be secure and might be susceptible to monitoring or malware. For an enhanced and secure experience, opting for paid services is advisable.
Below is a concise guide on setting up proxy servers across different platforms:
On Windows
On a Windows machine, both WiFi and ethernet connections can be adjusted to work with a proxy. Here’s how:
- Navigate to Settings and select the Network & Internet tab.
- Find and choose the ‘Proxy’ option.
- Under ‘Automatic Proxy setup,’ click on the ‘Set up’ button.
- In the emerging window, enable the ‘Use setup script’ option.
- Input the corresponding Script Address and click ‘Save’.
Note: You can also set up a proxy manually. You’ll need the proxy’s IP address and port number.
On Android
For Android users, proxies can be set for WiFi connections as follows:
- Swipe down on your device to reveal the status bar.
- Long-press the WiFi symbol to access WiFi settings.
- Beside your current network, tap on the settings cogwheel.
- Expand the ‘Advanced’ section.
- Select ‘Proxy’ and choose either ‘Manual’ or ‘Auto-Config’. For manual configuration, you’ll need to provide the proxy hostname and port, and specify which addresses to bypass. For ‘Auto-Config’, input the PAC URL.
- Save your changes and test to ensure it’s functional.
On iOS
On an iOS device, here’s the step-by-step process:
- Access Settings and tap on ‘Wi-Fi’.
- Click on the ‘i’ icon next to your connected network.
- Under ‘HTTP Proxy’, select ‘Configure Proxy’.
- Change to either ‘Manual’ or ‘Automatic’. For the manual setup, input the server details and port. For automatic, simply provide the desired URL.
- Save your changes and test your connection.
Directly Use the Website’s IP Address
While many firewalls focus on tracking and blocking IP addresses, there are also some that block access based on domain names. If you find yourself in a situation where the domain name is restricted, a workaround could involve directly entering the website’s IP address into your browser.
This should allow you to bypass the firewall and access the content you’re interested in.
Since it’s impractical to memorize the IP addresses for all the websites you might want to visit, you can use online tools designed to quickly find this information.
Here’s a step-by-step guide to help you bypass domain name blocks:
- Open an online tool that provides the IP address of specific websites. These are commonly referred to as “IP lookup” tools.
- Paste the URL of the blocked website into the designated search field, and click on the button that says ‘Lookup,’ ‘Search,’ or something similar.
- You’ll then receive the website’s IPv4 and IPv6 addresses.
- Copy one of these addresses and paste it into your browser’s address bar.
- Press ‘Enter,’ and you should now be able to access the blocked website.
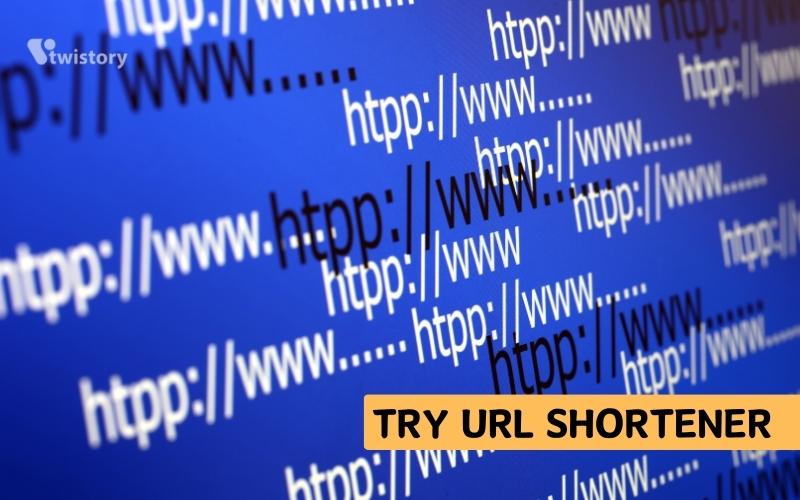
Try URL Shortener
Another approach to bypass domain name blocks involves using a URL shortening service. This method is particularly useful if the school’s firewall focuses on blocking specific domain names rather than IP addresses. A URL shortener converts the original, longer web address into a shorter version, which can often slip past firewall filters.
- Open an online URL shortening tool.
- Copy the URL of the website you want to access and paste it into the URL shortening tool’s input field. Then, click on the button that says ‘Shorten’ or something similar.
- You’ll typically be redirected to another page displaying the shortened URL.
- Copy this shortened URL and paste it into your web browser’s address bar.
- Hit ‘Enter,’ and if the firewall has been successfully bypassed, you should be able to access the site without any issues.
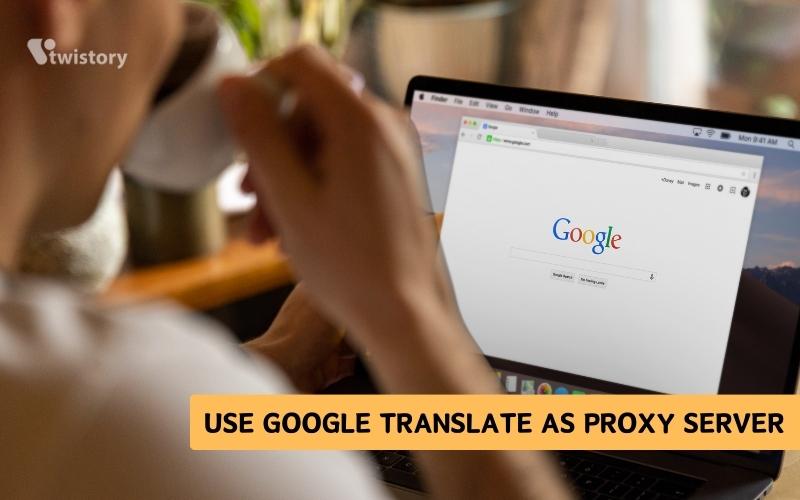
Use Google Translate as Proxy Server
Google Translate can serve as a makeshift proxy server to help you bypass school firewalls. Essentially, Google Translate fetches the content of the website you want to access, translates it (if necessary), and then displays it through its own URL. The firewall sees you accessing Google Translate’s URL rather than the blocked site, which allows you to circumvent the restriction.
Here’s a practical example demonstrating how to access Facebook—a site commonly blocked on school networks—using Google Translate:
- Open your web browser and go to the official Google Translate page.
- Choose any language other than English in the “Translate from” field. Alternatively, you can leave it set to “Detect Language.”
- In the text box provided, type in “facebook.com” (or any other domain you wish to access) and then click on the translate icon.
- Once the translation process is complete, you’ll see a link appear. Click on this link, and you should be redirected to Facebook’s login page.
- As you do this, take a look at the URL in the browser’s address bar. You’ll notice that the domain appears different, confirming that you’re viewing the site through Google Translate.
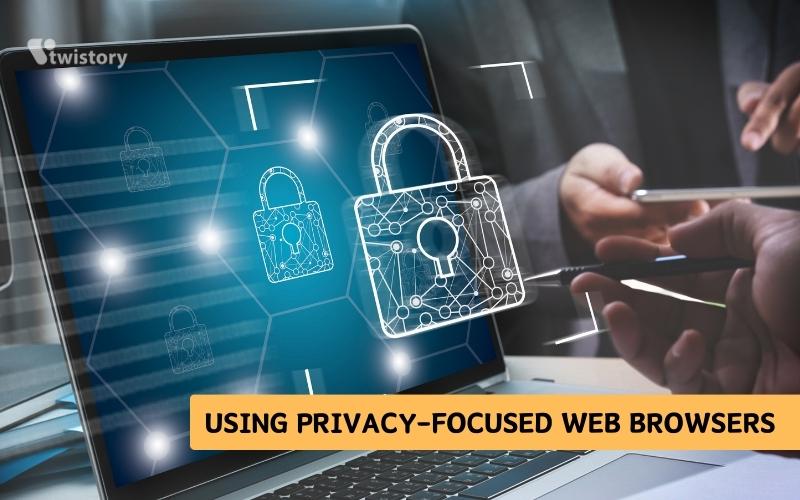
Using Privacy-focused Web Browsers
Most conventional web browsers are configured to allow firewall monitoring of your online activities. However, there are specialized, privacy-centric browsers designed to safeguard your network traffic. These browsers accomplish this by blocking intrusive advertisements and trackers, which can not only compromise your privacy but also impede your browsing speed.
Take Brave as an example. It supports the InterPlanetary File System (IPFS) protocol, which enables you to access websites that are decentralized or censored. There are also other browsers oriented towards privacy, including DuckDuckGo, Tor, and Onion Browser, among others.
Tor, in particular, offers robust defenses against online surveillance. It triple-encrypts your network traffic and routes it through multiple nodes, allowing you to browse virtually any website without concern.
It’s worth noting that institutional policies may prevent you from installing new browsers on school computers. However, if you’re using your personal device, using Tor or similar browsers generally shouldn’t pose a problem. Tor is not available on iOS devices, so for those platforms, Onion Browser serves as a viable, open-source alternative that is also powered by Tor.
If you’re keen on using a privacy-focused browser on a school computer, a possible workaround is to install the browser onto an external storage device like an SD card or a USB flash drive at home. Then, you can plug that device into the school computer the next day and run the browser directly from the external storage.
Using Alternate Smart DNS Server
Every time you key in a website address, a DNS (Domain Name System) server is responsible for translating this address into an IP, enabling your device to connect with the desired web server. However, certain firewalls block specific domain names, limiting your access.
A potential solution is to switch your DNS server. While this might sound technical, it’s a straightforward approach to circumvent domain-specific blocks. For enhanced reliability, consider using a smart DNS server—a hybrid that combines the functionalities of DNS and proxy servers. This not only aids in bypassing firewall restrictions but also in accessing geo-restricted content.
Below are step-by-step guidelines on how to adjust DNS settings across different devices:
On Windows
- Press Windows + R to invoke the run dialog.
- Type “Control Panel” and press enter.
- Navigate to “Network and Internet” > “Network and Sharing Center.”
- In the sidebar, select “Change adapter settings.”
- Right-click on your active network connection and choose “Properties.”
- Locate “Internet Protocol Version 4 (TCP/IPv4)” or “Internet Protocol Version 6 (TCP/IPv6)” and click “Properties.”
- Choose “Use the following DNS server addresses” and input your desired DNS values.
- Click “Ok.” If successful, the restricted sites should now be accessible.
On Android
- Open “Settings” and head to “Connections.”
- Navigate to “More connection settings.”
- Select the “Private DNS” option.
- If turned off, switch it to “Automatic” and save. Alternatively, input a specific private DNS provider’s hostname and confirm
On iOS
- Navigate to “Settings” > “Wi-Fi.”
- Tap on the info (‘i’) icon next to your connected network.
- Under “DNS,” choose “Configure DNS.”
- Switch to “Manual” and remove any existing DNS servers.
- Click “Add Server” and enter your chosen DNS values.
- Save your changes and test the website accessibility.
Using Remote Desktop Connection
The Remote Desktop Connection (RDC) feature permits a connection between a local machine, such as your school computer, and a remote one, like your computer at home. As this is perceived as a legitimate connection by firewalls, it can serve as a channel to access otherwise restricted sites.
For this method to work:
- Ensure your home computer is powered on and has RDC enabled.
- On your school PC, use the search function to launch the Remote Desktop Connection tool.
- Enter the credentials or name of your home computer and proceed to connect.
- Once connected, the remote computer might temporarily sign off, but you’ll be able to view and control it from your school PC.
Switch to a Different Network
If other strategies don’t align with your needs, switching to a different network is a practical option. Using mobile data by tethering your smartphone, for instance, allows you to bypass the school’s network restrictions.
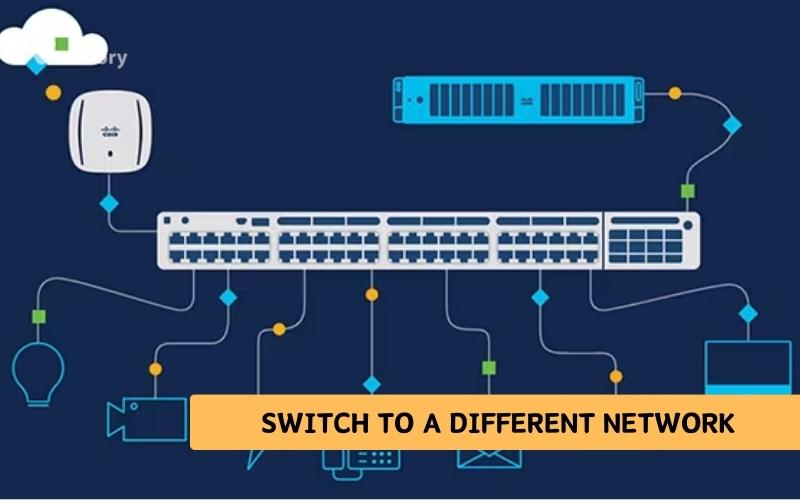
Activating a mobile hotspot and connecting your school computer to it offers another solution. This approach keeps you independent of the school’s firewall and policies, giving you unobstructed access to the internet.
Should You Bypass Your School Or Workplace Firewall?
Bypassing a firewall isn’t merely a sneaky act—it can lead to tangible repercussions. This can range from disciplinary actions like suspension or termination to more severe consequences like facing legal implications.
Firewalls aren’t just about control. They act as a first line of defense against online threats. By attempting to bypass them, you may unintentionally expose your device, and potentially others on the network, to malware or cyber-attacks.
Circumventing security measures can leave your personal data vulnerable. In an age of rampant cybercrimes, this isn’t a risk worth taking.
These digital barriers are not created to inconvenience you. In educational institutions, they aim to maintain a focused learning environment. In workplaces, they’re there to ensure efficiency and protect proprietary information.
Is It Illegal To Bypass A School Firewall?
While bypassing a firewall in itself might not always be illegal, what you access or do once it’s bypassed can lead to illegal activities. Distributing copyrighted content, accessing restricted databases, or engaging in malicious actions can attract legal consequences.
Can I get in trouble for bypassing school firewalls?
Indeed, most educational institutions have clear IT guidelines and acceptable use policies in place. Bypassing firewalls usually falls under prohibited actions. Violating these can lead to various disciplinary measures.
What are web-based proxies?
Web-based proxies can be envisioned as middlemen, they function as a bridge between your computer and the wider internet. These platforms are especially useful when you’re faced with restricted or blocked websites.
By entering the desired website to bypass school restrictions URL into the search bar of the proxy service, the website is fetched through the proxy server. This process effectively bypasses any local restrictions, granting you access to the content.
Conlusion
In conclusion, understanding how to bypass school firewall systems is a gateway to unrestricted access, ensuring you’re never hindered in your educational pursuits or personal searches. Remember to always tread carefully and responsibly when bypassing security measures. Hungry for more tech insights and solutions? Dive deeper into the world of Twistory’s blogs and empower yourself with the latest knowledge. Your digital exploration journey is just beginning.
