
In today’s world, managing multiple streaming devices and subscriptions can be a challenge and costly. The interfaces and functionalities of these devices may vary, and subscriptions can come with different prices and terms. This complexity can make it difficult for users to keep track and manage all their devices and subscriptions.
Kodi presents a potential solution to this issue. Kodi is a free and open-source media player that enables users to watch movies and shows from various sources, including unofficial ones. Kodi also supports VPNs, allowing users to protect their privacy while streaming.
In the following section, we will look at how to set up Kodi and use it with a VPN.
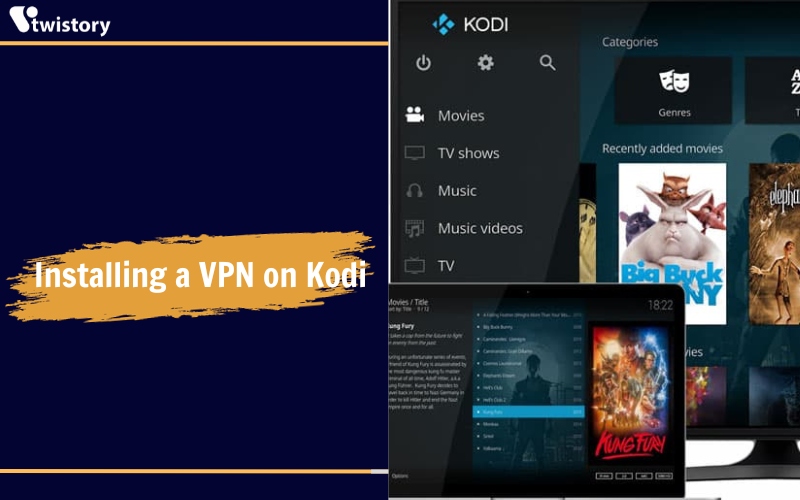
How to Install a VPN on Kodi
The simplest method to keep your streaming private on Kodi is to install a VPN extension directly on the same device that you’re using to operate Kodi. But don’t worry, we’ll guide you through all the different ways you can do this.
VPN Extension
Once you’ve picked out a VPN that works well with Kodi, here’s a straightforward guide on how to get your VPN up and running:
Installing a VPN Extension on Kodi
Setting up a VPN for Kodi is easy. Here’s how to do it:
- Register for the VPN service, which you can do within the extension itself or on the provider’s website.
- On the device you use for Kodi, install the VPN extension.
- Launch the extension.
- Choose the option to configure your VPN.
- Enter your login information.
- Click the ‘Activate’ button to get started.
By Router, Phone, Tablet or Computer
Setting Up a VPN for Kodi on Various Devices
Router
If you own a DD-WRT firmware router, setting up a VPN on it means all devices on the network, including Kodi, will have secured connections. However, the setup will vary based on your router’s brand and model.
Windows
- Go to the Microsoft store and download the Kodi app for Windows.
- Select and sign in to your VPN.
- Click the ‘Connect’ button, then start Kodi.
- Remember to pick a reliable VPN for Windows!
Mac
- Download a VPN app from the Apple store.
- Click to log in and connect.
- Open Kodi while connected to your VPN on your Mac.
Raspberry Pi
- In Kodi’s Settings, go to File Manager.
- Choose ‘Add Source’ and enter the URL for the VPN extension.
- Install the extension from the zip file, then navigate to ‘Program Add-Ons’.
- Select your VPN, sign in, and connect.
iOS
- For iPhone, download a VPN app from the Apple store.
- Log in, connect to a server, then open Kodi.
Android
- On Android, get a VPN from the Google Play store.
- Log in, connect to a server, then use Kodi.
Each device has its own way of setting up a VPN, but the core steps involve downloading the VPN, signing in, connecting, and then launching Kodi with the VPN running in the background
By Streaming Device or Gaming Console
Setting Up a VPN for Kodi on Different Devices
Roku:
- Roku doesn’t directly support Kodi, so use screen mirroring from an Android device.
- Update your Roku to the latest software.
- Go to Settings and enable Screen Mirroring.
- Make sure your Android device is secured with a VPN before mirroring Kodi to Roku.
Fire TV Stick/Fire TV:
- Install Kodi directly on your Fire TV Stick or Fire TV.
- Connect your VPN via the router to keep your streaming secured.
Xbox One:
- Xbox doesn’t natively support VPNs.
- Use Kodi on Xbox by setting up a VPN on a connected router, Mac, or PC.
- Download Kodi from the Xbox search function and start streaming.
Android TV:
- Install a VPN app on your Android TV.
- Connect to a server and enable Unknown Sources in the Security Menu.
- Download and install Kodi from the Google Play store.
Apple TV:
- Setting up Kodi on Apple TV is complex; it involves using an Apple developer account and specific software like Xcode.
- Connect Apple TV to your Mac and follow the steps to create a new Xcode project with Kodi.
- Use iOS App Signer and Kodi.deb to create an installable file.
- Install the file on your Apple TV through Xcode.
Chromecast:
- Chromecast doesn’t support Kodi, so cast from another device.
- For Android, use the Google Cast app to mirror Kodi to your Chromecast.
- On PCs/Macs, use the Chrome browser with a Chromecast extension to cast Kodi.
PlayStation:
- Download Kodi onto your PlayStation.
- Set up a VPN on your router or through a Windows or Mac computer.
- Connect the PlayStation to the internet via the VPN-protected network.
- Change network settings on the PlayStation to not use a proxy server for connection.
These are simplified steps for setting up a VPN on various devices to use with Kodi, ensuring privacy and ease of access across different platforms.
Why Use a VPN for Kodi?
Having gone through the detailed steps to use a VPN with Kodi, let’s explore the reasons why you might consider doing this.
Can Kodi be Used Without a VPN?
Absolutely, you can run Kodi without a VPN, but here’s what that means for you:
- Your ISP can monitor your streaming activity on Kodi, noting down what you watch, the duration, and when you do it.
- You won’t be able to access content from other regions. For example, the shows and movies available on Netflix vary by country, and without a VPN, you’re stuck with your home country’s selection.
- Using Kodi on a public Wi-Fi network without a VPN is risky because your device’s information could be out in the open, making you vulnerable to security breaches.
Why Use a VPN with Kodi?
There are a variety of reasons why you might want to use a VPN with Kodi:
- Access content from around the world by hiding your IP address, which allows you to change regions on Netflix and other services, and unlock new content libraries.
- Keep your streaming activity private from your Internet Service Provider. A VPN conceals your browsing and streaming activity, so your ISP can’t tell that you’re using Kodi.
- Enhance your cybersecurity. A VPN reduces your risk of being hacked, which is a key reason behind the surge in VPN usage in recent years.
What is Kodi?
If you’ve read this far, you likely have an idea about Kodi, but let’s clarify anyway. Kodi is a media player that brings together various content providers into a single, easy-to-use interface. It’s available for:
- Android devices
- iOS devices
- Windows computers
- Mac computers
- Chromecast, and more.
- Being open-source, Kodi has a global user base of 30 million.
What is a VPN?
A VPN is like a secret passage for your online activity. It creates a private and secure connection that encrypts what you do online and your device’s location from your internet service provider.
What is a Kodi VPN?
A Kodi VPN is a VPN application used on the device that controls Kodi or an internal Kodi add-on. It encrypts all the user’s activities on Kodi, from the shows they choose to stream to the amount of time they spend streaming.
Is Kodi Legal?
Kodi is a legal platform for media playing. It’s open-source, which means the program can be modified by anyone. While Kodi itself is legal to use, some people create and use add-ons that allow users to watch pirated movies and TV shows, which is a violation of copyright law. Think of Kodi as a road — the road itself is legal, but some people choose to break the law while using it.
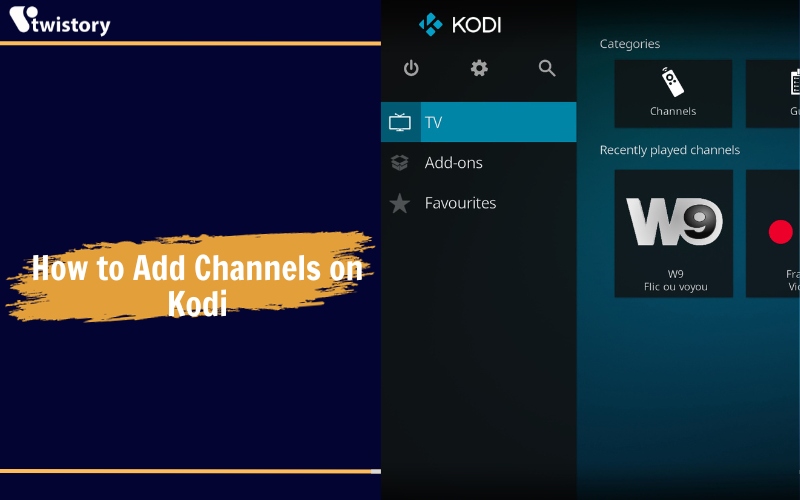
How to Add Channels on Kodi
To add the Channels addon in Kodi from the Butter Fingers Repository, follow these steps:
- Open Kodi and go to the System Settings.
- Select File Manager.
- Choose Add Source and then select None.
- Type in the URL for the Butter Fingers Repository and name it “butter.”
- Confirm by clicking OK.
- Return to the Main Menu and select Add-Ons.
- In the top left corner, find and click the package installer icon.
- Choose Install From Zip File and pick your “butter” source.
- Select the file named something like Repository.butter-1.5.3.zip.
- After that, choose Install From Repository.
- Find and select Butter Fingers Repo.
- Go to Video Add-Ons, find Channels, and select it.
- Hit the Install button, then OK.
And that’s it! It’s a bit of a process, but once you get the hang of it, you’ll be able to add other addons with ease.
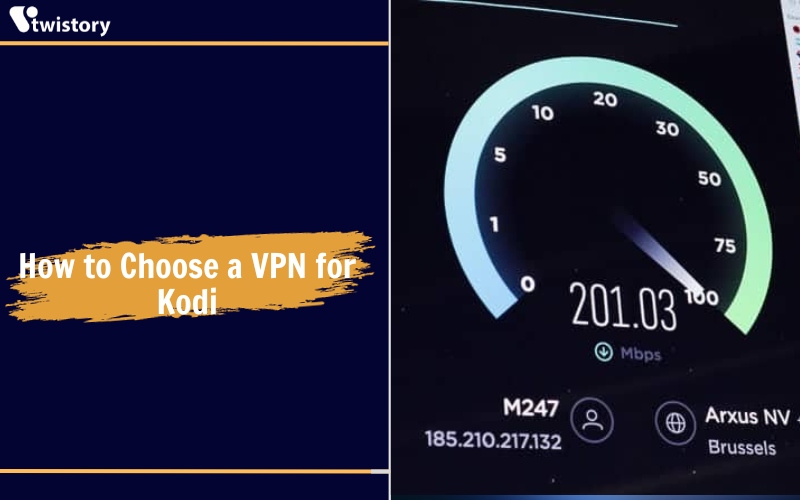
How to Choose a VPN for Kodi
Choosing the right VPN for Kodi is key because not all VPNs work with it. Start with one that’s known to be compatible, like Ivacy VPN, NordVPN, FastestVPN, ExpressVPN, or Surfshark. When making your choice, consider these points:
- Privacy: Opt for a VPN outside the Five Eyes surveillance alliance to avoid data sharing. It should keep minimal logs, not recording your IP or online activities, and use strong AES-256 encryption.
- Streaming Compatibility: Since you’re using Kodi, ensure the VPN isn’t blocked by popular streaming services like Netflix.
- Speed: A good VPN should offer high speeds for smooth streaming, with minimal delay.
- Security: The best VPNs offer enhanced security features like multi-hop, which encrypts your data several times.
- Affordability: You shouldn’t have to spend a lot on a VPN. There are great options available for under $10 a month.
Conclusion
Setting up a VPN on Kodi can be a bit complicated since it’s open source, but it’s a valuable step toward getting private, all-in-one access to your streaming content. Once your VPN is up and running with Kodi, be sure to test it to confirm everything is working smoothly. For more helpful tips and detailed guides on how to get the most out of your streaming experience, follow Twistory.net, your go-to resource for insightful information in the world of digital technology digital.
